Blog Archives
Telltale Signs of Spring
As I write this, the honeybees are scouting every plant on the property. Awakened by warm weather and sunlight, they search for nectar. Aside from a few California poppies and other wildflowers blooming in front of the house, they won’t find much to forage on just yet.
Of course, there are a few apricot, nectarine, and almond tree blossoms as well as a smattering of white strawberry blooms in the raised beds at the back of our property. But within a few weeks, the warm weather of March and April will render the farmette virtually covered in masses of sweet offerings for the honeybees.
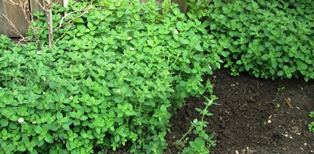
Still, there are the early signs of spring. The Japanese maples are leafing out in a dazzling show of red color. The pregnant stems of our bearded iris are swelling now for their Easter bloom cycle. And the Greek oregano is popping up everywhere as it does this time of year.
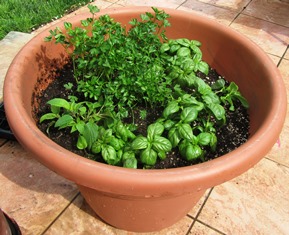
Birds are building nests, but I haven’t seen the red-breasted robins just yet. When they show up, searching for worms and grubs, I will know spring has truly arrived. Until then, I look for the telltale signs that Mother Nature is about to robe herself in the splendid garments of spring–fruit tree blossoms, leaves, blooming wildflowers, and lovely kitchen herbs pushing up all over the place.
Sun Drying Apricots
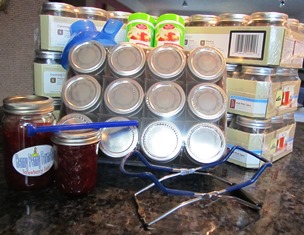
My husband supports my obsession for making jam and otherwise preserving summer’s bounty. Two weeks ago he brought home five cases of organic apricots and cherries from the farmers market and cases of canning jars. Yesterday he brought me seven more cases of canning jars with rings and lids.
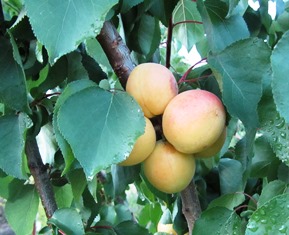
The fruit on the apricot trees here on the farmette is ripening now. So are the yellow and small red plums. The figs and apples will come later but the trees are already heavily laden. I have canned dozens of jars of jam. I think I will dry some apricots.
Sun drying apricots requires 2 to 4 days of hot sun (preferably above 98 degrees) for the fruit to lose its moisture and turn leathery. Luckily, our local weather forecast is temperatures at the end of next week to hover in the mid- to upper 90 degrees Fahrenheit. High temps and low humidity are key to successful sun drying of fruit.
Here’s the process I use.
Step 1. Gather together the equipment such as a drying table; trays to hold the fruit; and cheese cloth or a screen to protect from insects, flying leaves, dust, birds, and the like.
Step 2. Wash the fruit, cut into two pieces, and remove the pits.
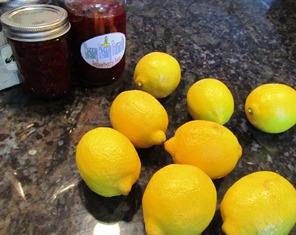
Step 3. Dip fruit into crystalline ascorbic acid–1 teaspoon to 1 cup of water to prevent fruit browning. Or, dip fruit for 3-5 minutes in lemon, lime, or orange juice. But after two batches are dipped, replace with fresh juice. Drain well after dipping.
Caveat: Sulfuring of apricots and other dried fruits produces an excellent product, but is to be avoided if you suffer from asthma because it can trigger an asthma attack. I stay away from sulfured products precisely because of this reason.
Step 3. Place fruit in a single layer. Similar size pieces of apricot will dry in approximately the same length of time.
Step 4. Cover trays with cheesecloth or a screen. Test for perfectly dried fruit–no moisture present when an edge is cut. The fruit will be pliable.
 Facebook
 Goodreads
 LinkedIn
 Meera Lester
 Twitter


