Archive for June, 2013
Garden Tuck-ins and New Plantings
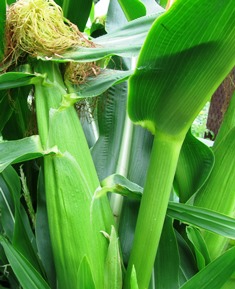
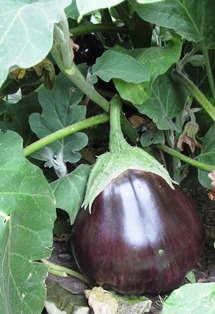
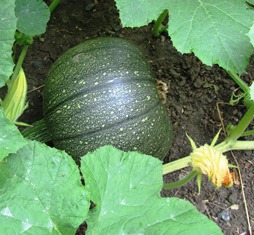
From our Henny Penny Farmette organic garden, I am already harvesting tomatoes, squash, eggplant, peppers, cantaloupe, and ears of corn. But just because I’m harvesting crops now doesn’t mean I’m finished planting for the year.
In fact, in late June and July, while I am enjoying the healthy summer bounty from our garden, I like to think about what else I might plant, like more corn as a succession planting, or tucking in something new where onions or lettuces have been pulled.
In Northern California, we have the dry season (hot weather) and rainy season (cool and wet). The weather is temperate and I have learned to plant vegetables according to when they grow best.
This is the perfect time to plant beans, corn, melons, parsnips, potatoes, pumpkins, radishes, rutabaga, and turnips.
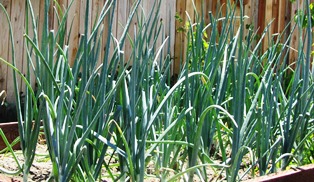
Then as the months of the fall season approach, I plan to tuck in a few cool season crops (bok choy, cabbage, carrot, fava bean, lettuces, peas, radicchio, and spinach) and root vegetables such as turnips, leeks, and onions.
Sun Drying Apricots
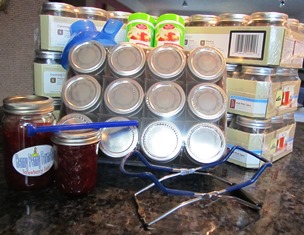
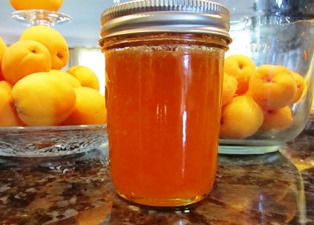
My husband supports my obsession for making jam and otherwise preserving summer’s bounty. Two weeks ago he brought home five cases of organic apricots and cherries from the farmers market and cases of canning jars. Yesterday he brought me seven more cases of canning jars with rings and lids.
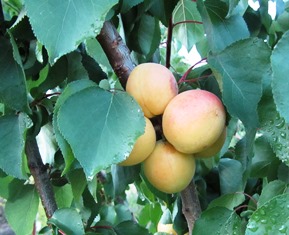
The fruit on the apricot trees here on the farmette is ripening now. So are the yellow and small red plums. The figs and apples will come later but the trees are already heavily laden. I have canned dozens of jars of jam. I think I will dry some apricots.
Sun drying apricots requires 2 to 4 days of hot sun (preferably above 98 degrees) for the fruit to lose its moisture and turn leathery. Luckily, our local weather forecast is temperatures at the end of next week to hover in the mid- to upper 90 degrees Fahrenheit. High temps and low humidity are key to successful sun drying of fruit.
Here’s the process I use.
Step 1. Gather together the equipment such as a drying table; trays to hold the fruit; and cheese cloth or a screen to protect from insects, flying leaves, dust, birds, and the like.
Step 2. Wash the fruit, cut into two pieces, and remove the pits.
Step 3. Dip fruit into crystalline ascorbic acid–1 teaspoon to 1 cup of water to prevent fruit browning. Or, dip fruit for 3-5 minutes in lemon, lime, or orange juice. But after two batches are dipped, replace with fresh juice. Drain well after dipping.
Caveat: Sulfuring of apricots and other dried fruits produces an excellent product, but is to be avoided if you suffer from asthma because it can trigger an asthma attack. I stay away from sulfured products precisely because of this reason.
Step 3. Place fruit in a single layer. Similar size pieces of apricot will dry in approximately the same length of time.
Step 4. Cover trays with cheesecloth or a screen. Test for perfectly dried fruit–no moisture present when an edge is cut. The fruit will be pliable.
Growing Avocados
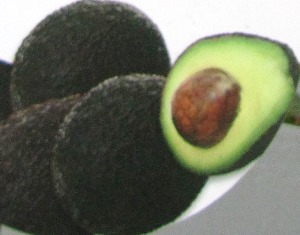
My daughter, whose kitchen looks out over a side yard, asked me for an avocado tree. Her birthday was approaching so I suggested the tree be my present to her. We had a thriving avocado years ago along the side yard of our family home. I suppose she missed that tree.
I had no idea that avocados do not necessarily thrive in Northern California. Some cultivars are hardier than others. They are a subtropical fruit tree and mature trees require roughly 150 gallons of water a week to survive (except in winter). They also need a lot of heat, good drainage, and little to no competition from other trees.
The avocado along the fence of our family home (the tree belonged to our neighbor) eventually became infested with termites. The tree was cut down to about two feet tall, treated, and it bounced back.
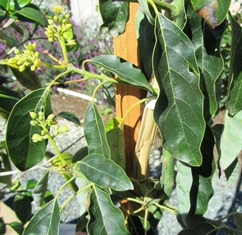
The tree I planted for my daughter made it through the East Bay winter here last year and it snowed, albeit just a dusting. So I was pleasantly surprised to see how well the tree is doing now. My daughter hopes for fruit this year or next. We’ll see.
Avocado trees need to be fed throughout the year. They need nitrogen (but also phosphorus and potassium) in a balanced fertilizer like Scotts Turf Supreme. The trees are shallow rooted and like sandy loam soil. Clay soil like what we have here on the farmette must be amended with gypsum and compost.
Some avocados will need a pollinator; others like Stewart, the type of avocado I planted for my daughter, is self-fertile. If you keep bees or live near a beekeeper, the bees will do the pollinating for you. Otherwise you might need to hand pollinate using a small brush. For more information, see http://www.gardenguides.com/108300-pollinate-avocado-trees.html
Simple Strawberry Ice Cream
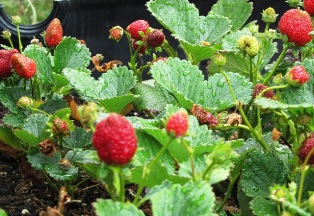
With fruit so abundant this time of year, the opportunities for making homemade treats are seemingly endless. I like to pick a quart or more of strawberries when they’ve ripened to make ice cream. Strawberry ice cream is a perfect treat for a Father’s Day picnic or barbecue.
This STRAWBERRY ICE CREAM recipe is simple to follow and only requires a few ingredients and a little time.
Ingredients:
1 to 2 quarts ripe strawberries
2 cups sugar
3 pints cream
pinch of salt
2 Tablespoons vanilla
Directions:
Pick, wash, and hull the strawberries.
Pass them through a course sieive, mashing and pressing the berries through the holes into a bowl.
Mix with 1 cup of sugar and set aside for one hour.
Scald the cream in a double boiler.
Add 1 cup sugar and pinch of salt to the cream to make the custard.
Remove from heat, and let cool.
Stir vanilla into the cream custard.
Fold the strawberry mixture into the custard and freeze.
Harvesting and Saving Sunflower Seed for Replanting
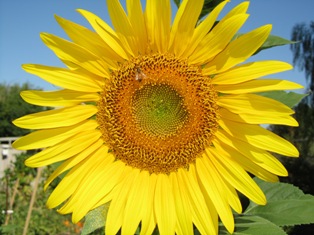
Last year, my sunflowers were gigantic and gorgeous. I removed heads as large as dinner plates for drying so I could plant the seeds again this year. Some of the smaller heads contained seeds that were totally black. I figured the bees had done some magic with cross pollination of other sunflowers from the neighborhood.
I stored the heads in my garden shed over the winter, but never got around to removing the seed for replanting. When I went into the shed to retrieve them for planting last month, I discovered with dismay that something had devoured most of the seeds. A few seeds were left so I optimistically tucked them into the ground. Alas, none germinated.
Determined not to let that ever happen again, I recently bought four packets of open-pollinated, heirloom sunflower seed. After they grow, I’ll harvest and preserve the seed correctly at the end of summer so I’ll have plenty to plant next year. When you use open-pollinated, heirloom seed, next year’s plants will come true to the characteristics of the parent. This is not the case, however, with hybrid seed.
In case you might be interested in harvesting and storing sunflower seeds, too, here are the steps.
1. When the sunflower heads have turned from green to brown, remove the head from the stalk with a knife.
2. Let the head dry for a few weeks to a month in a dry place, safe from marauding squirrels and racoons. You can tie the heads with string and hang them from the ceiling in a drying shed or place them on paper.
3. Shake or gently bang or otherwise extract the seed onto paper from the dried heads.
4. Store the seed in paper envelopes and label them with the date and type of seed.
Farming Prerequisite: Muscles
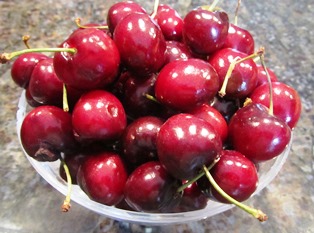
Preserving luscious stone fruit can involve hours of work, even when the process of canning is simple
Preserving the bounty of the orchard, garden, and hive is necessarily labor-intensive. The kitchen work is especially hard on the shoulders, back, and legs during stone fruit season because it requires hours of standing, washing, cutting, pitting, stirring, wiping, boiling, bottling, and labeling.
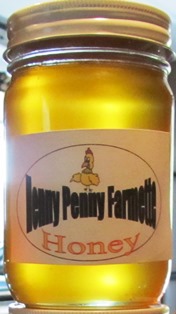
Still, I love seeing my pantry shelves stocked with jars of jam, marmalade, conserve, and honey. At last count, I’ve made (so far this season) 70 jars of apricot jam and 12 of cherry-orange conserve.
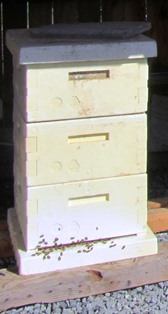
Harvesting honey from a hive is not exactly easy work either. My beekeeper neighbor and I removed a few frames of honey for ourselves in late May. From that work, this much I know: lifting a honey-filled super isn’t exactly for the faint of heart.
When the hive has a second or third super on top, lifting (not moving, just lifting) the whole shebang requires a lot of upper body strength.
Weed pulling is another job that requires muscles. This morning I weeded for a couple of hours before I’d had enough. Some weeds can grow tenacious roots up to a foot long and the roots can also have many branches. While I use a spade or shovel often as an aid to weeding, there’s something satisfying about leaning over and pulling out a weed. It’s a compulsion I share with many gardeners.
I didn’t know when I was in my twenties and off on a pilgrimage to India that the yoga I learned there and have done ever since would pay big dividends in the farm work I do today. Joint flexibility and strong muscles are absolutely necessary for the labor-intensive work of farming.
 Facebook
 Goodreads
 LinkedIn
 Meera Lester
 Twitter


