A CHORES LIST FOR THE AUTUMN GARDEN
Each year on the first day of autumn here on the Henny Penny Farmette, I take stock of my fruit trees and vegetable and flower gardens.
The Old Farmer’s Almanac points to mid-October 2019 for early rain in Northern California, so there’s much for me to do over the next two or three weeks.
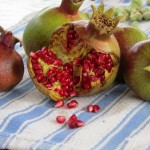
- Nothing says “autumn” like ripe pomegranates
My chores list includes the following items. They’re roughly the same from year to year.
1. Gather seeds from self-seeding or heirloom, open-pollinated plants (flowers and vegetables) for next year’s garden. Dry seeds and store them for planting next spring.
2. Sow spring-blooming bulbs (such as daffodils, tulips, hyacinths, ranunculus, crocus, and buttercups available in garden centers now).
3. Turn soil and prepare beds for the cool-season vegetable garden (broccoli, cabbage, beets, and parsnips).
4. Inspect and divide perennials.
5. Harvest olives and preserve them.
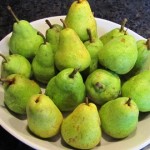
6. Pick late summer pears and ripe pomegranates. The leathery covering of pomegranates already may be splitting open and showing ruby red seeds. The juice of the seeds makes a wonderful jelly.
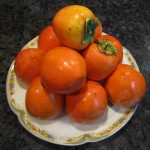
7. Check persimmons for ripeness. Pick if they’re ready. They might need another month.
8. Harvest and store pumpkins and butternut squash. Peel, remove seeds, and cut the flesh into squares for freezing.
9. Compost old garden vines and vegetable plants that are done bearing for the season. Check tomato plants infected with bacterial or fungal diseases and do NOT add any of these to the compost pile.
10. Begin the process of cleaning and storing gardening items not required over the winter.
11. Sow spring-blooming wildflowers in prepared beds.
12. Schedule time to prune back crop-bearing fruit trees (like apricot, peach, and plum).
I actually look forward to those chores. They’re part of the natural rhythm of farmette life. With a list and plan to get everything done, I won’t be caught by surprise when the weather turns cold, dark, and rainy.
________________________________________________________________________________________________
If you enjoy reading about farming, country living, keeping of bees and chickens, and gardening, check out my Henny Penny Farmette series of cozy mysteries. They’re chocked full of ideas, tips, and delicious recipes for country living.
Also, take a look at my numerous self-help and wellness books. All are available at Amazon.com, Barnes & Noble.com, Walmart.com, and other online and traditional bookstores everywhere.

More than 150 rituals for sound mind, strong body, and meaningful connections to the people around you
Time to Harvest Seeds from Annuals
If you are like me, you hate to see anything wasted. Case in point, seeds from a summer flower garden.
Walking around my farmette this time of year, I see many seed pods on flowers that I can take off, dry, and store. Scores of my flowering plants are perennials that come back again next year, but may others are annuals, grown throughout one season.
Just because they are annuals doesn’t mean that I have to buy new seed in order to grow them next year. No. I will gather their seeds (found in flower heads or seedpods or the calyx, located at the base of the flower on the plant). I can then pull the annual and toss the plant biomass into compost pile. The seeds I’ve collected will be further dried and stored in paper envelopes labeled with the date collected and the plant’s name and color.
In the plant store you’ll find hybridized plants along with those NOT MARKED as F1 hybrids. Seeds you collect from the non-hybridized plants will come back true to their parents the next year. Non-hybrids include heirloom, open-pollinated plants that some gardeners (myself included) prefer for their gardens.
This year, I sowed zinnia seeds that I had collected two years ago. Tossing them into a bare area of the garden, I forgot about them. When they not only grew but bloomed profusely, I felt immensely pleased with myself for taking the time to collect that seed.
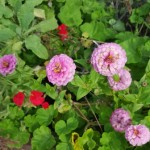
Zinnias are annuals. Their tiny seeds are located in the flower heads. They can be removed once the plant has finished blooming and dried.
Nasturtiums are annuals that drop their seeds (the size of a pinto bean) and will often re-seed where they’ve grown before. I like to collect these into paper envelopes and label according to color and whether they grow as a vine or bush. They actually prefer poor soil and bloom well in full sun (less so, in shade). Nasturtiums are also edible flowers–just wash, dry, and toss into a salad or use as a garnish.
Petunias are lovely annuals that carry their seed in the calyx (just under the flower). The calyx swells with seeds so you’ll want to remove the dead flowers along with the part of the stem that includes the calyx (top of stem) . Pull off the petals. When the calyx dries and splits open, you’ll see the seeds. Save these for planting.
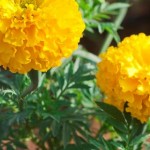
Marigolds add splashes of bright yellow color to your garden. Remove the dead flowers and save part of the thickened stem beneath the flower head (the calyx). Split open the calyx at the top of the stem to find the long, slender seeds. Dry and save these for your next year’s flower garden.
There are lots of other annuals that you can grow in a flower garden if you take the time to harvest and dry their seeds. Consult a gardening guide or plant grower’s catalog to learn more about the annuals you might want to grow. Then give seed harvesting a try so that you’ll get all your favorite blooms in a future garden.
____________________________________________________
If you enjoy reading about gardening and other farming topics, check out my newest novel, A HIVE OF HOMICIDES. It contains not only an entertaining mystery but also tips for growing plants and trees, keeping chickens and bees, and making delicious farm-wholesome foods.
Click here to see more: http://tinyurl.com/ya5vhhpm
What Could Be Easier than Growing Irises in Raised Beds?
When we first moved to the Bay Area from Miami, the heirs to the property behind ours gave us some bearded irises that had been planted in the 1950s by their parents. I recall the beauty of irises on my grandmother’s farm in Missouri. She called them flags.
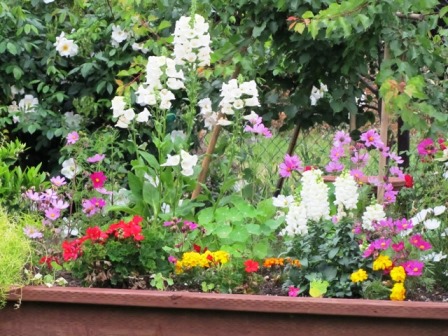
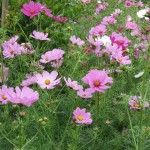
For a lovely raised flower bed, plant other bloomers like cosmos, geraniums, pansies, nasturtiums, and marigolds with iris cultivars
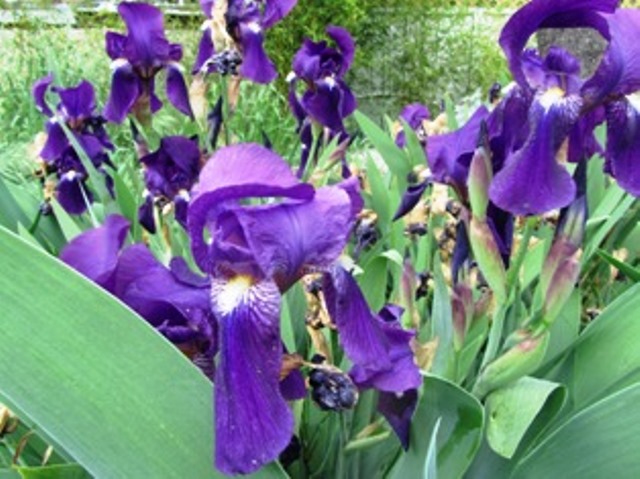
Mostly colored in deep purples and blues, white, and pinkish-beige, the bearded irises have added an aesthetic appeal to our farmette that was mostly just a big field with a tiny house in the middle. We’ve planted them in the ground, along fences, and in raised boxes.
Easy to grow and maintain, the irises have become one of our favorite flowers. We’ve kept them going in our garden and they’ve rewarded us with many new rhizomes.
As we’ve continued to restore the farmette, we’ve built many four by six feet boxes for raised beds. The materials cost roughly $125 per box. We like them because we can easily control the soil (building it up with compost, manure, and other amendments), drainage, tilling, and weeds. Recently we decided to make irises the mainstay of a raised bed border.
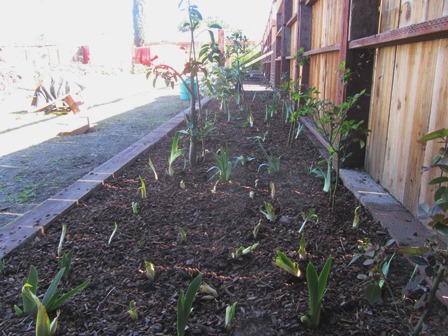
We’ve interplanted citrus and bearded irises in this raised bed spanning the length of the front fence
Over the weekend, we built a long raised bed that extends the entire length of the fencing on the southwestern side of our property. In it, we planted lots of citrus trees, climbing roses, and irises. If you are thinking of doing something comparable, have fun choosing from among the hundreds of cultivars of bearded and Siberian irises.
Plant them about three inches deep and a few inches apart in well drained, fertile soil. Irises need shade from the hottest sun and enjoy a deep drink of water, especially during blooming. I enjoy the ease of growing them in raised beds and love, love, love the magnificent color atop tall stalks when they bloom.
 Facebook
 Goodreads
 LinkedIn
 Meera Lester
 Twitter


